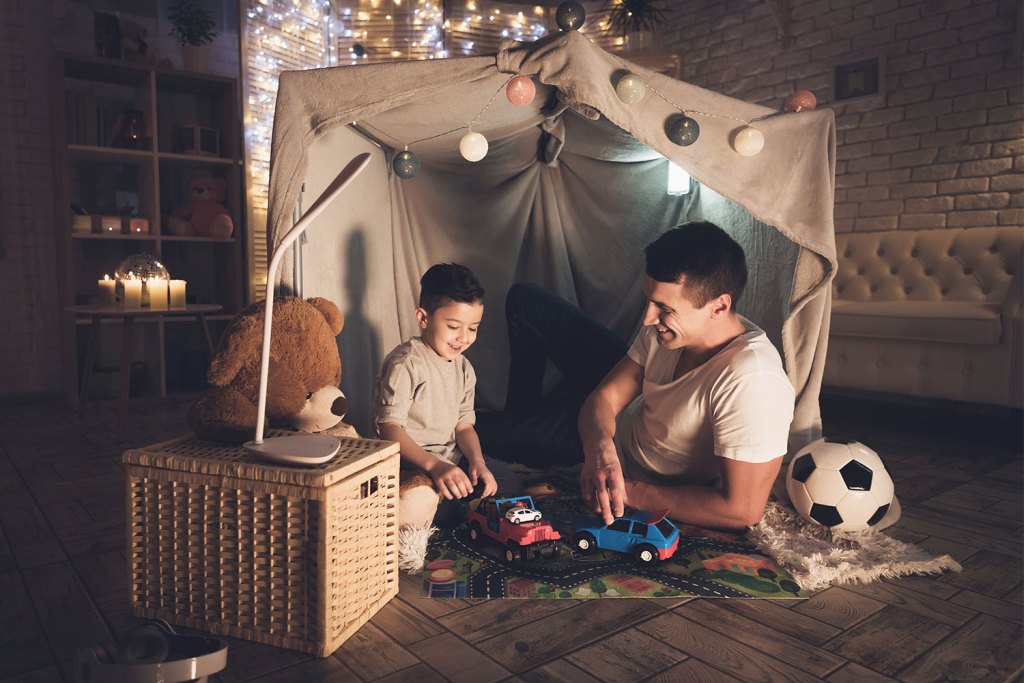
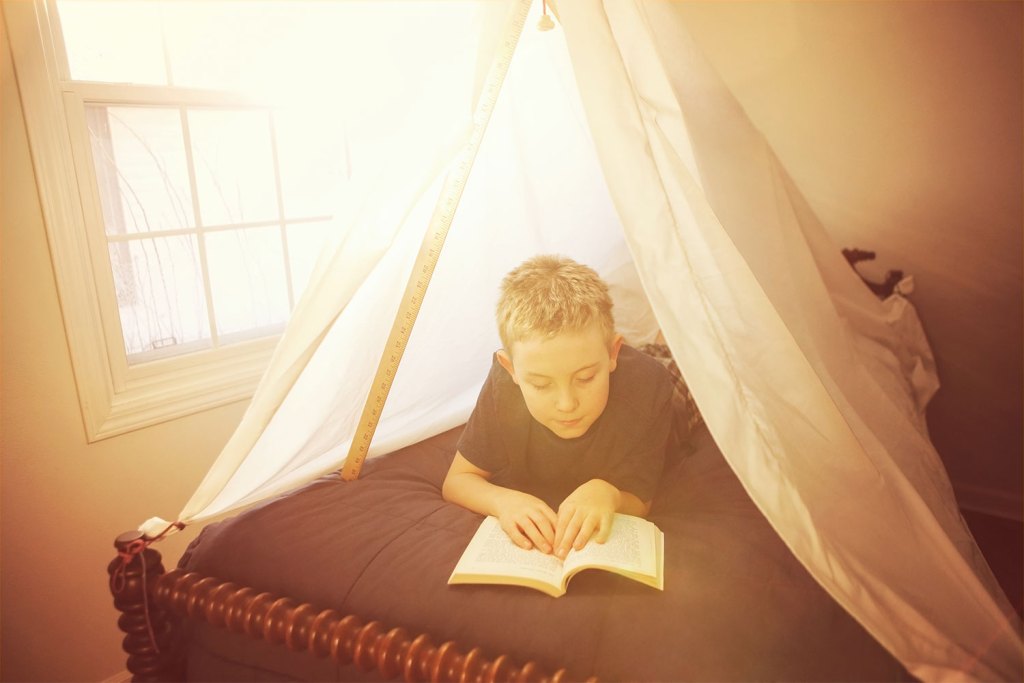
When kids are out of school, they’re exploring the world. They’re experimenting with different things and doing a whole lot of imagining, and you might be ready for them to stop taking everything apart as they try to find ways to expend that freedom-loving energy.
Blanket forts are a childhood staple. Building them helps your child develop critical cognitive skills, and playing in one can help reduce screen time and alleviate boredom. Blanket forts are surprisingly easy to construct once you’ve gotten the hang of the basic structure, so listen up! We’ve got everything you need to know about building a blanket fort your kids will love.
Blanket fort safety
Before we get started, keep these things in mind:
- Avoid building blanket forts with crawling babies or toddlers who can hurt themselves.
- Move obstacles out of the way, so you’re less likely to experience an injury.
- Use string or twine to build height. Save heavy weights like books for securing the bottom edges of the fort.
- Supervise children during play and immediately remove any collapsed sections.
Blanket fort basics

You must master the basics before you can begin experimenting. Here’s what you need to know about building a blanket fort that doesn’t immediately collapse.
Light sheets on top
Yes, we know — it’s called a blanket fort. But putting your blankets as the structure of your fort will only get you a stiflingly hot fort that’s likely to cave in at any minute. Save those blankets for building up the base and snuggling in for a good book.
Light sheets on top allow you to build peaks and angles, giving you so much more flexibility in your design. Master those shapes, and you’ll be a legendary blanket fort builder.
Use creative materials
Take a look around your house to see what you could use. If your child has a tunnel toy, use it for a secret entrance. If you have a tall coat rack, use it to build height into one of your blanket fort sections.
Once you see the materials at hand in your house, you can unleash your creativity. The crucial aspects of building a fort involve not only supports but the innovative use of materials to create doorways, arches, and other features.

Make room
Move smaller furniture away from the space. Lightweight furniture that will topple over is also not recommended. You may be able to use smaller furniture to create entrances instead of trying to use them as supports.
You’ll also want to remove any small items you don’t want crushed accidentally, or that could pose a tripping hazard. You’ve already got blankets and pillows throughout the space, so clear it of other items that may cause stubbed toes and tears.
Practice makes perfect
When you first start building, start with a simple shape. Squares are often the easiest to manage. Once you master a simple form, you can add other elements to expand. Don’t be upset if you can’t build a world-record-worthy fort on your first day.
Some blanket fort ideas
If you aren’t sure where to start, here are a few ideas. You can build them in a range of time frames from just a few minutes to a couple of hours.
The table fort
Luckily, anything can be used as a piece of support. If your child is asking for a blanket fort and you don’t have the time, experience, or materials to build something elaborate, take a good look at your kitchen table.
Drape a sheet over your table so that it covers all sides down to the floor. Arrange pillows and blankets underneath and tape a paper sign to the front announcing whose fort it is or who is allowed inside.
This takes just a few minutes and can please children for hours. Small tables are a perfect nook, while long tables may be appropriate for a family-size fort. And the best part? Cleanup takes just a few minutes too.
The table fort concept is also useful for any piece of furniture that could create space. If your child has a bunk bed, use the same method to cover the sides of the bed. If you’ve got a kitchen island or even a taller coffee table, the same rules apply.

Clothesline fort
A simple clothesline can create another unique blanket fort that’s easy to set up and take down. Attach a clothesline from one wall to another, whether across a room or simply in a small corner section. Drape a sheet over the clothesline and use books, toys, or other weighted objects to draw out the edges into a tent shape.
Make sure your clothesline is sturdy enough and won’t stretch under the weight of the sheet. Yarn won’t be appropriate, but nylon or real clothesline can hold the weight.
Corner fort
Use a corner of your room to build a fort with a single high point. Attach your sheet to the corner of the room using the corner of the sheet and anchor it by pulling the other edges to the side.
Use two chairs or two side tables to create an entrance at the very front and use books to hold the sheet in place. If you can hang a small hook in the corner so that you can tie up the sheet, this could help anchor the fort in place.
Avoid the temptation to load up heavy books onto the sheet to try to hold it. Books can slide off the top shelf and hit little heads. The safest method is a small hook for tying the twine or rope.
Building and experimenting with blanket forts
Building blanket forts is a wonderful way to bond with children and have a little fun yourself. You can practice and get creative each time, creating bigger and better forts. Spend some time imagining what you could build and get your children involved. And the most important part? Get into the fort with your children yourself. It’s time to learn to play.


