Any parent knows that playdough is a fun childhood staple that kids love to play with, but it can also be frustrating too. As soon as your child mixes the colors together, they can get frustrated, or if they leave the lid off a store-bought brand, it can dry up quickly and become unusable.
The popular store-bought Play-Doh was actually made by accident. The compound was meant to be used as a wallpaper cleaner by its inventor, Joseph McVicker. It was his sister-in-law, a preschool teacher, who saw the compound’s potential and even came up with the name. Of course, Play-Doh quickly became a playroom and classroom mainstay, spawning different colors and toys to go with it. More than three billion of those familiar yellow jars of Play-Doh have been sold since it rolled into the hearts and hands of kids everywhere in 1956.
In addition to the Play-Doh you can purchase in a store, there are many homemade playdough recipes floating around because the modeling substance isn’t just fun but educational, too. Playdough is great for toddlers, preschoolers, and kindergarteners because squeezing and making things with it works the fine motor muscles in those little developing fingers and hands. Playdough also stimulates creativity and has been shown to have a calming effect on children.
So, if parents and caregivers want to make their own playdough instead of always having to buy more when the colors get mixed or dried out because someone forgot to put the lid on tightly, it’s pretty simple. Most playdough recipes have the same ingredients with a couple of tweaks here and there.
Cream of tartar

If you didn’t know what cream of tartar is for, it’s for making homemade playdough. Well, it has other uses, too, but it’s a key ingredient in homemade playdough. You can leave it out of the recipe, but the cream of tartar helps to give the playdough its elasticity and that’s what helps make playdough so fun.
Cook or no-cook playdough

Let’s face it. Whenever you don’t have to cook something, it’s a win-win. There are playdough recipes that call for cooking on the stove and ones that don’t. There are playdough recipes that don’t usually require hot water. There are even a few playdough recipes out there that don’t use either cooking or hot water.
Basically, like most things, finding the playdough recipe that works for you is best. Making playdough on the stove can get sticky and leave you with a messy pan to clean. A better option is using a playdough recipe that utilizes hot water to bring it all together. Try this easy playdough recipe the next time your kid’s stash is low. You might never go back to store-bought playdough again, and think of the money you’ll save.
Homemade playdough recipe

Ingredients
- 2 cups of flour
- 1/2 cup of salt
- 2 tablespoons of cooking oil (vegetable or coconut)
- 2 tablespoons of cream of tartar
- 1 cup of hot water
Method
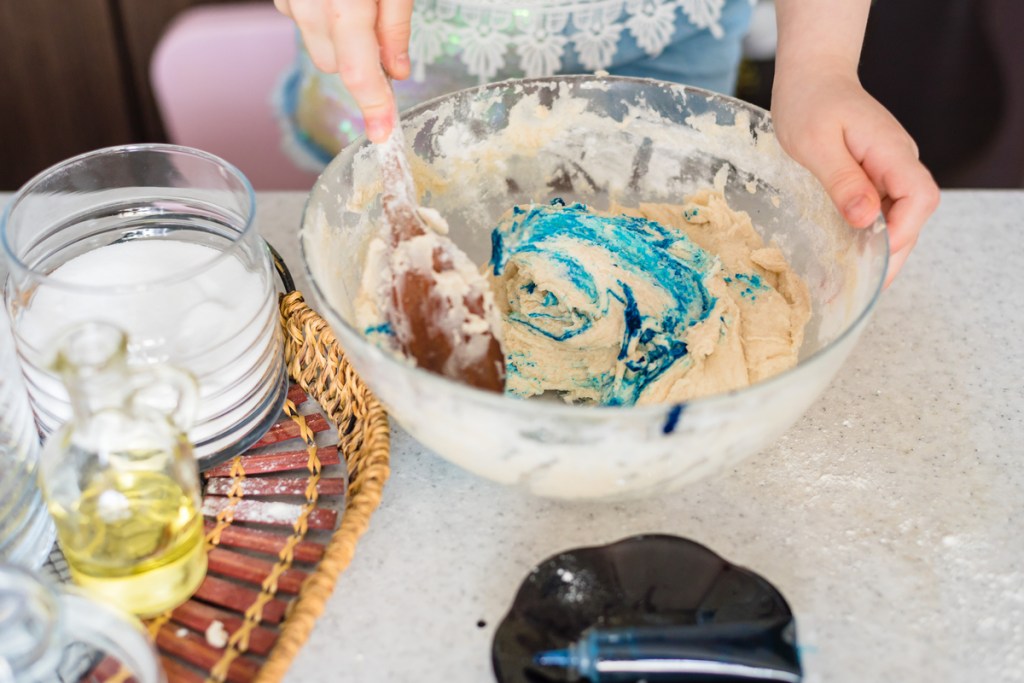
- Place all of the dry ingredients in a medium-sized mixing bowl.
- Stir to combine.
- Slowly add in the cup of hot water.
- Stir until all the water is absorbed.
- Allow it to sit for two minutes before kneading.
- If the playdough is sticky, carefully knead in additional flour.
- Allow the playdough to cool completely before giving it to the kids to play with.
How to make colored playdough

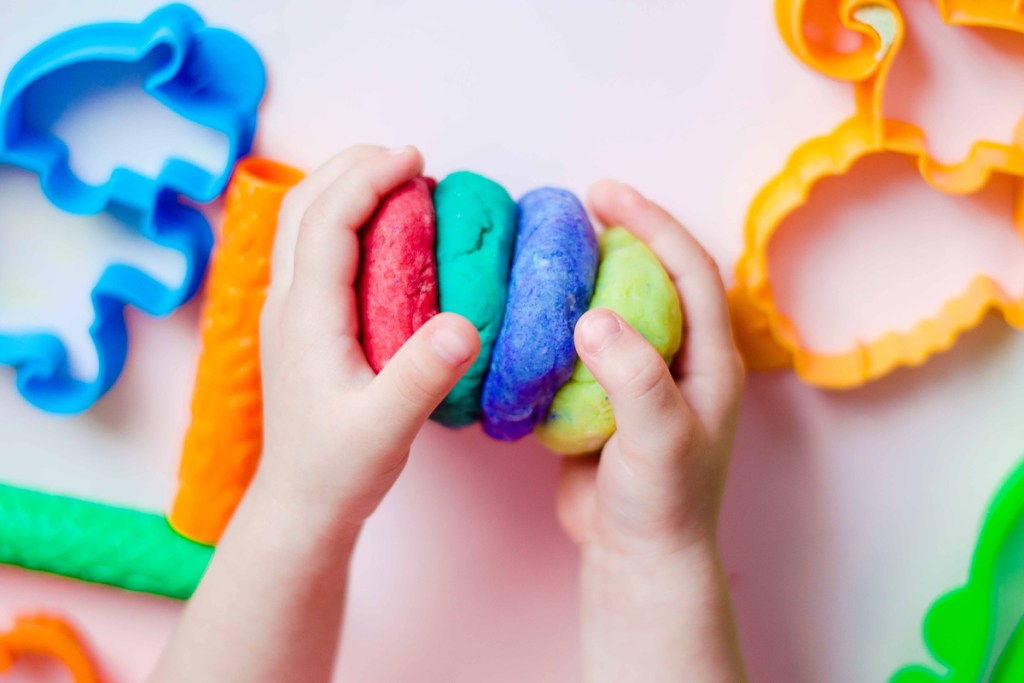
Of course, playdough is all about color. If you want to make different-colored playdough, it’s easy; all you need is food coloring. One option is to take the above recipe and add a few drops of food coloring. To avoid stained hands, use gloves when kneading in the food coloring.
For multiple colors, divide the playdough into sections. Make a hole using a thumb in the middle and add three drops of food coloring. Fold over and knead in. This method allows you to make different colors of playdough from one batch.
Storing playdough

If you’ve ever left the lid off of a container of Play-Doh, you know what happens. It hardens. The same is true for homemade playdough. Always store a batch of homemade playdough in a Ziploc or air-tight container.
How long does homemade playdough last?

Homemade playdough should last about two to three months. Putting it in the refrigerator does help to extend its life.
What to do if homemade playdough becomes hard?

If a batch of homemade playdough gets hard, don’t toss it. Add a couple of drops of coconut or vegetable oil. This will soften the playdough so kids can get back to rolling and creating.
Homemade playdough vs. store-bought?

Both homemade playdough and store-bought do the same thing. Since playdough can be easily made with things you already have in your pantry and lasts for months, it is budget-friendly. Making your own playdough is also a fun and simple do-it-yourself project parents and caregivers can do with kids.
Benefits of playdough

Not only do kids love to play with playdough, but it also helps develop the muscles in the hands and fingers needed for fine motor skills like writing, buttoning, tying, and more. It engages their imagination as they create and experiment with different colors and textures, and it also encourages their social skills as they learn to share and collaborate with friends and other children.
Making playdough with your child can help foster an interest in science while watching them craft different shapes and numbers helps them with math and literacy. It also helps children with their hand-eye coordination as they learn to create. So not only is playdough a relatively inexpensive and fun activity for kids, but it’s educational, too.
Play-Doh has been around since the 1950s, and for good reason. Kids of all ages love to play and create with it. Playing with the compound is also soothing. Sure, you can buy Play-Doh, but it is also really fun to make playdough at home. Give our easy homemade playdough recipe a try. It is a great DIY project to do with kids on a rainy day or any day of the year. Kids will get hours of enjoyment from playing with it and rolling out the playdough they helped make is even more satisfying.


