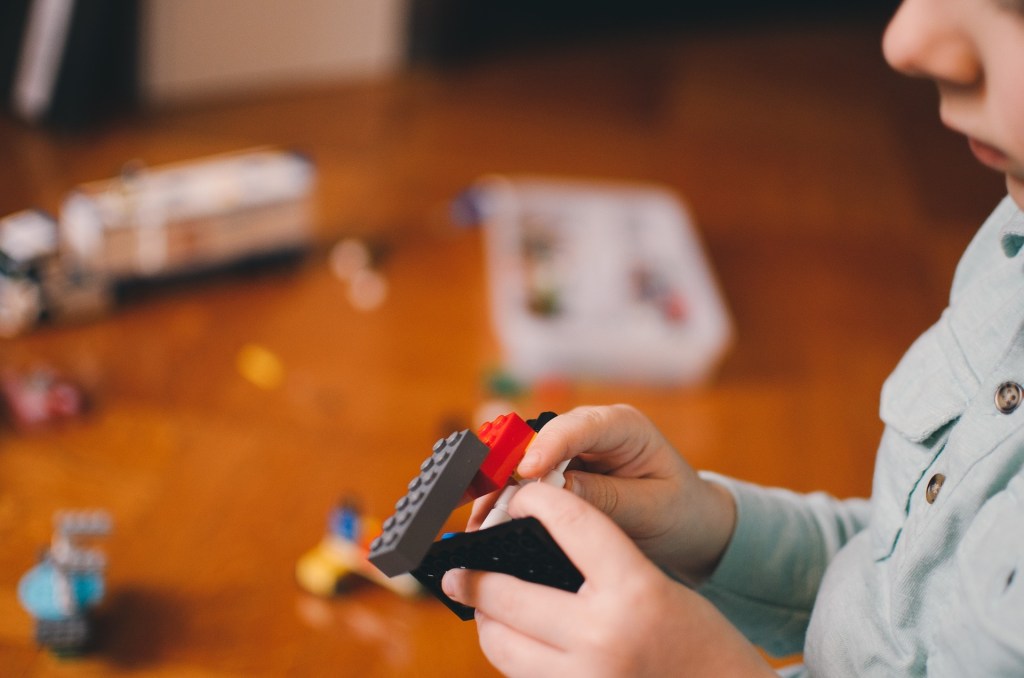
If you’re a parent currently raising a child who holds a deep love and appreciation for those buildable cubes, aka LEGO blocks, then we have the perfect weekend DIY project. What makes this project even more special is it’s ideal for completing with assistance from your own little helper. With some supervision, a few power tools, and a little ingenuity, you and your kid will have a budget-friendly DIY project that they can enjoy for years to come.
How to make a LEGO table
We’ve scoured the internet, researched the elements, and found the most bang-for-your-buck products that will have your child building castles, cannons, or craters in the matter of one day. Forget the expensive toy versions and toss out those hard-to-follow instructions or videos that cost too much or take too long to complete. This version is perfect for those casual weekend builders and their little helpers looking to make lasting memories and a fun project together.
Plan your project
In order to put together the most budget-friendly and easy-to-make project possible, it’s highly recommended that parents plan this one in advance. To complete this DIY LEGO table in one day, some recognizance, research, and planning are needed prior to construction.
1. Find the table that will serve as the base of this project
Utilizing leftover furniture pieces in or around the home, the local thrift store, or social media marketplace are always good first choices. If a newly purchased base is necessary, we recommend an easy to assemble and cheap possibility from a local store. For around $15, it’s possible for parents to put a table together in minutes.
2. Pick up some LEGO bases
We recommend parents grab these peel-and-stick, glue-back LEGO bases. They come in 10-by-10 inch blocks that come together flush, making the design as seamless as possible. Most table bases require only four pieces from the pack of six, allowing parents with leftover pieces should one arrive, or become, damaged.
As an added extra and completely optional step, adding a few strips of Liquid Nails to the back of the Lego bases adds more support to the project, helping it hold together more securely. Avoid contact with children’s skin, and refrain from allowing them to assist with this extra step, if taken.
3. Gather the tools needed
This is a wonderful time to call on your kid for help. By including them in the prep work for this project, you’re encouraging them to be prepared in the future for their own projects and assignments. A few good ones to grab could be:
- A circular or hand saw: used to cut the plastic LEGO baseplates to make them fit together on the table selected for this project
- A tape measure: to measure necessary lengths for laying the baseplates
- Fine grit sandpaper: this handy tool will allow you or your little one to smooth down any sharp edges on the baseplates from cuts made, or to smooth corners to prevent injury
- Rubber hammer: for use in gently adhering the LEGO baseplates to the tabletop
- Rubbing alcohol: – to thoroughly clean the tabletop, removing any residue
You’ve gathered the goods, now it’s time to build
You’ve prepped your workstation. You’ve collected the needed materials, including the tools needed to assemble the coolest LEGO table in your house. Your little helper is ready to rock and roll, and it’s time to start building.
- Measure your tabletop and record the measurements to calculate the number of baseplates needed.
- If necessary, cut baseplates to your specifications for assembly.
- Sand any rough or sharp edges and corners.
- Wipe down the tabletop with rubbing alcohol and a paper towel.
- Peel and place each Lego baseplate section. (Add any added adhesives prior to placement on the tabletop.)
- Gently tap each piece with the rubber hammer to ensure a complete bond.
- Allow the glue to set up for the recommended amount of time.
- Enjoy your new LEGO building station by constructing an epic, showstopping masterpiece!
A simple, one-day project perfect for kids and parents is no longer unobtainable! By building something together, kids and grownups are strengthening bonds, encouraging inclusion, using teachable moments, and creating laughs all at once. This one-of-a-kind piece will surely bring happiness to LEGO lovers worldwide, without breaking the bank or your will to build!