It's that time of year again, where the leaves are crunching underfoot, beautiful corn husks adorn the neighbors' doors, and pumpkins of all decorations sit on porches. Fall is upon us, and we are getting ready for Thanksgiving. Besides the turkey, there is something else everyone can't wait to see on the table. No holiday setup would be complete without beautiful Thanksgiving centerpieces that your kids will have fun making while you get all the trimmings ready.
This year, don't just involve your kids in making the easy Thanksgiving sides — get them in on the decorating. We have simple Thanksgiving centerpiece ideas perfect for kids to make for the holiday table setting. It's such a wonderful holiday to spend with friends and family, all around the table, giving thanks for what we have in our lives. Be even more thankful for your family when you look at the centerpiece your kiddos made for the occasion.
Grateful Gobbler
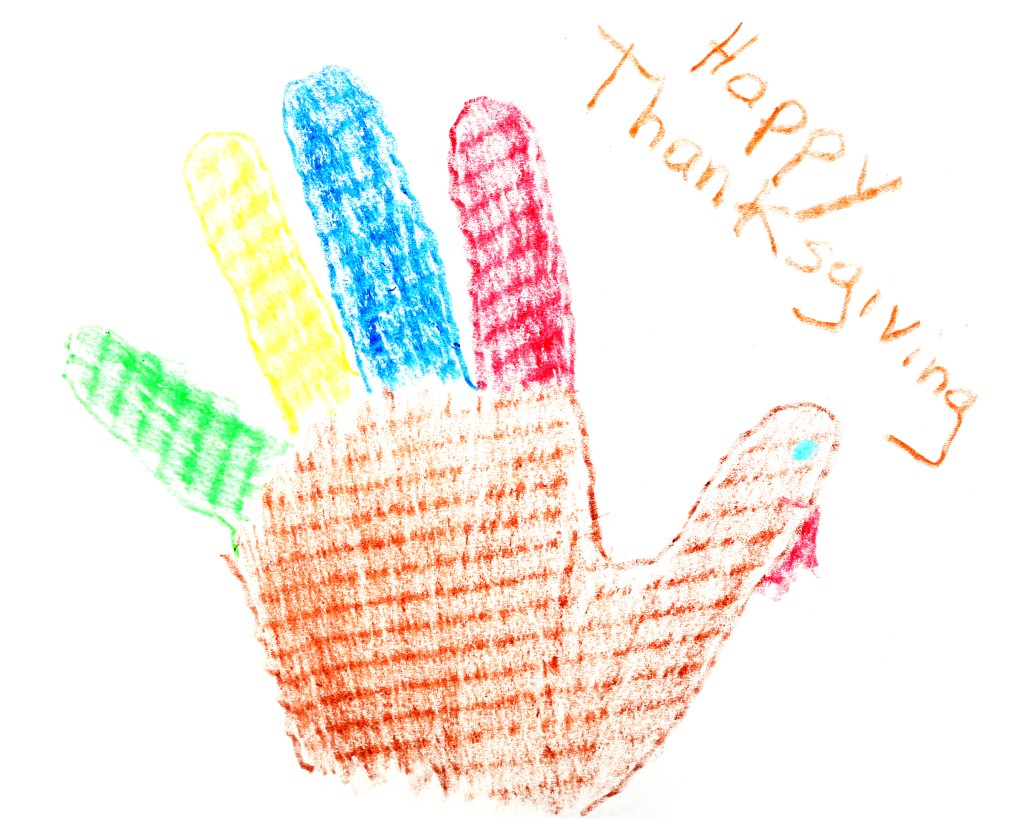
The inspiration for the first centerpiece project involves those adorable little hands. Remember when you were a child, and your schoolteacher or parent would have you trace your hand and color it in like a turkey with your fingers serving as the turkey's feathers? Here is a new spin on it that lets you talk to your kids about what being thankful means, and maybe even share with them what you are thankful for, too.
It makes a great conversation starter, which makes it a wonderful centerpiece, and perfect to sit in the middle of the table with friends and family all around.
Step 1: Trace your hand turkey and color in the finger feathers.
Step 2: Give your gobbler buddy a beak and eyes.
Step 3: Now have your little one write down five things they are thankful for, one on each feather. They could be thankful for anything, and there are no wrong answers. Doing an activity like this actually helps to exercise their brain since they have to think about what they are grateful for.
Step 4: Laminate this homemade centerpiece and make the bottom a little long to fold it back to display it for everyone to see.
Tasty turkey treats
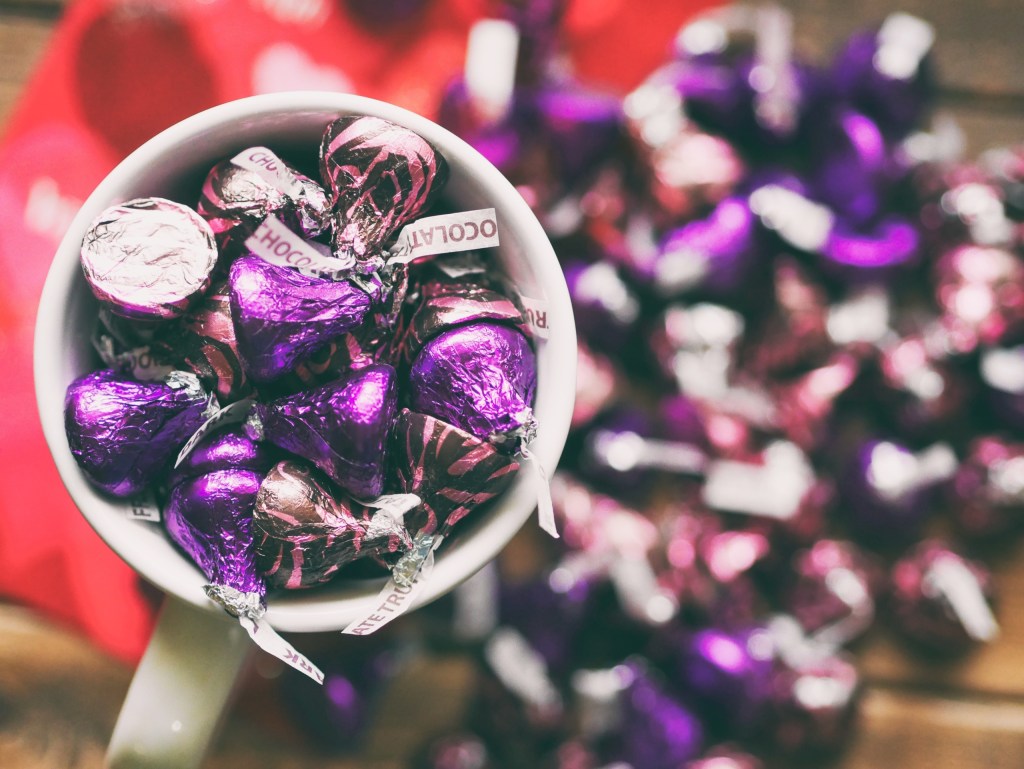
This one is super simple and totally adorable, and it only requires a tiny bit of help from an adult. Plus, at the end of dinner, everyone gets to eat a treat! The kids are going to love creating these — and we’re sure they will sneak a few kisses in while they are creating their turkeys.
Step 1: Grab a bag of Hershey’s Kisses. Around this time of year, and try to find them in seasonal colored wrappers.
Step 2: Get card stock, felt, and googly eyes.
Step 3: Take the card stock and cut it into the shape of feathers or scalloped edges. You’ll also want to cut a piece of red or orange felt for the turkey’s beak.
Step 4: Let your little ones color on the shaped card stock to create their turkey masterpiece.
Step 5: Stick on the googly eyes and secure the chocolate kiss to the cardstock. Children should use a glue stick to attach the bottom of the kiss to the cardstock, or a parent or adult could attach the googly eyes with double-sided tape or just a small dab of glue.
Step 6: Let them dry, and just like that you have tiny little turkey treats to sit in the center of the table.
Step 7: If you don’t want to use this in the center of your table, another suggestion is for the kids to place one at every place setting, so each guest gets one!

Feathery frame
If your little one enjoys making art with popsicle sticks, then this next craft is going to be right up their alley! The end result is a picture frame of popsicle sticks with a multitude of colorful feathers popping out from behind, making them look like turkeys.
Step 1: To begin, either purchase colored popsicle sticks or have your children paint regular ones.
Step 2: Help them glue the sticks together to form the frame and put a photo in the frame.
Step 3: After that, let the kids go to town with the feathers. Let them have fun picking out what colors they want for their turkey frames.

Husky turkey bowls
If you want a super easy Thanksgiving centerpiece for the kids to make that will still look elegant (but cute), then a glass turkey is what your table needs.
All you need for this one is glass bowls, colored constructions paper in earthy tones, and corn husks.
Step 1: Depending on how big your table is, the kids could do one giant centerpiece or a few smaller ones.
Step 2: The kiddos will then put the corn husks in the glass bowls. If you have older kids or extra creative kids, they could even paint the husks silver or gold, depending on your dinnerware colors.
Step 3: Have your child cut out shapes with the colored paper to make the eyes and nose, whichever combinations they want. They could do squares, triangles, or circles. You could go with googly eyes for a bit of fun.
They will glue the eyes and nose on the glass or use double sided tape.
Thanksgiving is all about family and these are wonderful activities everyone will be able to participate in making. Your little one will beam with pride when they see their artistic creation sitting front and center during your Thanksgiving meal.
